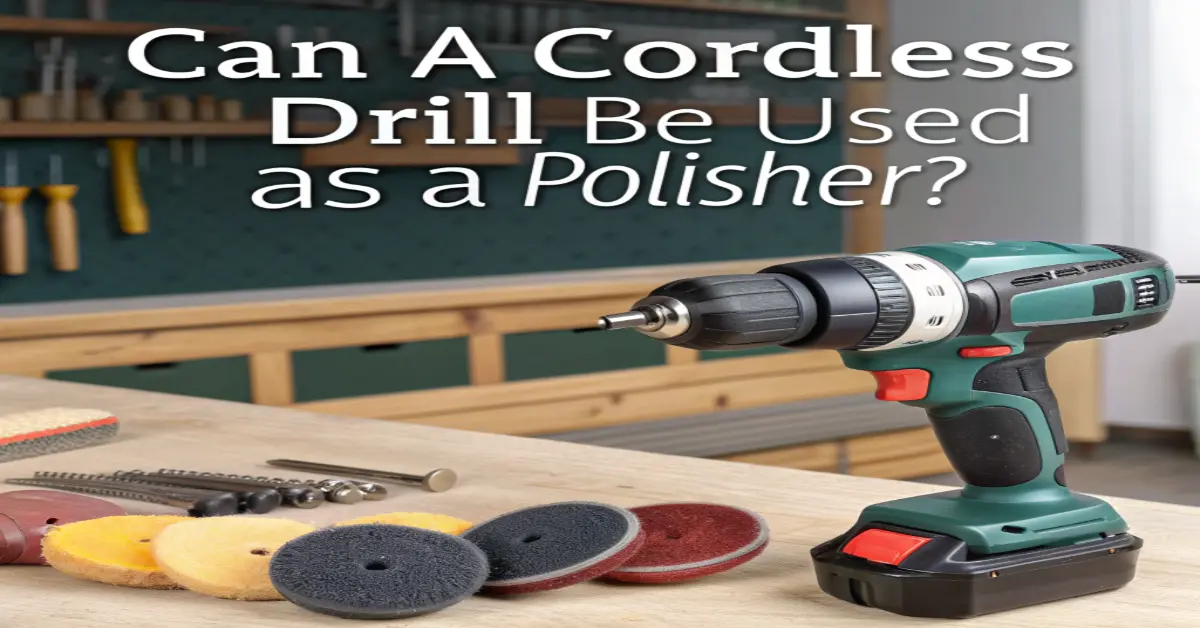
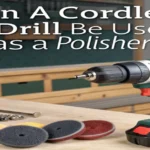
If you’re into DIY projects or quick fixes, you might have wondered, can a cordless drill be used as a polisher?
The answer is yes—with the right attachments and techniques, your cordless drill can double as a handy polishing tool.
In this guide, we’ll explain how to safely use your drill for polishing, what accessories are essential, and tips to achieve a professional finish on surfaces like metal, wood, or even cars.
Let’s dive in and turn your cordless drill into a versatile DIY polisher!
The Real Story Behind Using Cordless Drills for Polishing
I want to share with you a funny story – I began my long journey as a worker who lost my dedicated polisher at the very worst time – while polishing my brother’s car.
By the terminal lost and frustrated I seized my DeWalt cordless drill and so it started this whole half pipe. It’s not a perfect substitute for a professional buffer, but it is the kind of hack that is quite genius if you want to save some substantial amount of money.
The best thing about this hack is that it’s relatively simple. Many people own a cordless drill that is collecting dust in their garage and with a few more bucks for accessories, you can find yourself with a reasonable polishing tool.
For small scratch repairs to headlights in cars right up to painting, it’s a method that I have used, and which produces rather astonishing results.
Let’s Talk Honest Pros and Cons
After months of using this setup, here’s what I’ve learned:
The Good Stuff:
- Saves you around $100-200 compared to buying a dedicated polisher
- Perfect for working in tight spots (those annoying door handles!)
- You probably already own the main tool
- Great for small touch-ups and quick fixes
- Incredibly portable (I’ve even helped neighbors in their driveways)
The Not-So-Good Stuff:
- Battery life can be frustrating on bigger jobs
- Speed control isn’t as precise as professional tools
- You’ll need to be extra careful to avoid damaging paint
- Might take longer to achieve the same results
What You’ll Need (My Tested Shopping List)
Through trial and error, I’ve found these items work best:
Essential Items:

- A decent cordless drill (18V or higher works best)
- 5-inch backing plate with drill attachment
- Foam polishing pads (start with medium-cut)
- Polishing compound
- Microfiber towels
- Safety glasses and gloves
Pro Tip: I learned the hard way that cheap attachments aren’t worth it. Spend a little extra on the backing plate – your paint will thank you!
Setting Up Your DIY Polisher
Here’s my step-by-step process that I’ve refined over time:
- First, clean your drill’s chuck thoroughly
- Attach the backing plate (hand-tighten, then double-check)
- Center the polishing pad perfectly
- Test the rotation on a scrap surface
- Start with the lowest speed setting
“The key is taking your time during setup. I rushed once and had my pad fly off – not a fun experience!” – My personal learning moment
Safety First – Lessons from My Mistakes
Look, I’ve made some blunders that taught me valuable lessons:
- Always wear eye protection (polishing compound can splash)
- Keep a firm grip – these things can have surprising torque
- Work in a well-ventilated area
- Take breaks to prevent the drill from overheating
Surface Guide (Based on Real Experience)
| Surface Type | My Recommended Pad | Speed Tips | Notes from Experience |
| Car Paint | Soft foam | 1200-1800 RPM | Start slower than you think |
| Headlights | Medium foam | 1500-2000 RPM | Works amazingly well |
| Chrome | Wool pad | 1800-2200 RPM | Keep moving constantly |
Common Mistakes (That I’ve Made So You Don’t Have To)
- Rushing the Process: Take your time, especially when learning
- Too Much Pressure: Let the tool do the work
- Forgetting to Check Battery Level: Always have a spare charged
- Using Old/Dirty Pads: Replace them more often than you think
Pro Tips from My Garage
After countless weekends of practice, here’s what works:
- Start with a small test area (I use the lower door panel)
- Keep the pad flat but slightly angled
- Move smoothly like you’re painting
- Clean pads frequently during use
- Keep a spray bottle of water handy
When to Upgrade to a Real Polisher
Be honest with yourself. Consider upgrading when:
- You’re doing entire cars regularly
- Need consistent professional results
- Have multiple projects lined up
- Want to start a detailing business
FAQs
Q: Will this save me money?
A: If you already own a drill! I saved about $150 compared to buying a dedicated polisher.
Q: How long does it take to polish a panel?
A: About 15-20 minutes for a door panel, compared to 10 minutes with a proper polisher.
Q: What about swirl marks?
A: They’re possible but avoidable with proper technique and patience.
Key Takeaways from My Experience:
- ✓ It’s doable with the right setup and patience
- ✓ Perfect for weekend warriors and small jobs
- ✓ Can save significant money if you’re on a budget
- ✓ Requires more attention to technique
- ✓ Great gateway into car detailing
Personal Note: I still use this method for quick touch-ups, even though I eventually bought a dedicated polisher. It’s like having a trusty backup that never lets you down!
Bonus Tips I’ve Learned:
- Keep your drill battery charged – polishing drains it quickly
- Work in a shaded area – direct sun makes it harder to see your progress
- Practice on an old panel first
- Keep your movements steady and consistent
- Listen to your drill – if it sounds strained, ease up
Final Thoughts
Please bear in mind that this is not about trying to get the result as close as possible to actual perfection with ideas that are out of this world; no, it is about ideas that can be implemented out in the real world and be as effective with real people.
I’ve used this method countless times, and while it might not be as fancy as professional equipment, it gets the job done when you need it.
Final Thought: In other words, it’s the adage ‘the perfect is the enemy of the good’. It pays to be proactive: that is because sometimes people need to find these solutions by themselves!

I’m Ian Welkins, a seasoned professional in the tools industry. My passion drives me to share valuable insights on hammers, drills, and industrial tools. With years of experience, I’m your trusted source for expert advice on the best tools for every job.
